


Music-making is not easy and requires proper skills and the perfect tools. However, during Macworld 2004, GarageBand was introduced to make music making process easier for everyone. Since then, this software has been widely used and has helped many individuals thrive in their music passion. Moreover, this software comes pre-installed on every Mac, iPhone, and iPad.
Recently, many users have faced new sound installation issues while using GarageBand. There are various reasons behind this, which might be complex to resolve if you are unfamiliar with the solutions. So, this guide is a must-read to learn about the possible solution and effectively install new sounds.
Table of Contents
9 Possible Fixes to GarageBand Not Able to Install the New Sounds
As discussed, GarageBand helps users make music easily and customize their tracks per their needs. This music library, however, may show some errors or become unable to install new sounds. In this case, we recommend you stay patient and read the fixes below and try them out to install sounds quickly.
Fix 1: Storage Space at Full Capacity
Sometimes your Mac or iOS device storage gets full. In such a case, the low space for the sound library restricts installing any new songs in GarageBand. Now there are two possible fixes to this; you should make some space for new media by deleting the unused files.
Otherwise, you can invest in a new external drive, such as a 256GB SSD, which will do the work for you. For further info, check out the list of best SSDs for Mac along with their pricing:
- Samsung Portable SSD T7 Shield: $159.99
- SanDisk Professional Pro-G40 SSD: $449.99
- LaCie Portable SSD: $119.99
- SanDisk Extreme V2: $69.99
- Kingston XS2000: $63.02
However, if the issue persists, we recommend you wait a few hours and leave the songs on download. A few of the time, it takes long hours to install the new songs due to traffic on the server.
Note: The prices may vary depending on the size of the SSD you buy.
Fix 2: Uninstall/Reinstall the GarageBand
The most common and quickest of fixes is to uninstall and reinstall the software. This helps with resolving any bugs in the already installed version of GarageBand. Moreover, it also clears the cache and helps run this tool more smoothly without any new sound installation errors. To uninstall the software, follow the given steps for Mac and iPhone:
For iOS/iPadOS
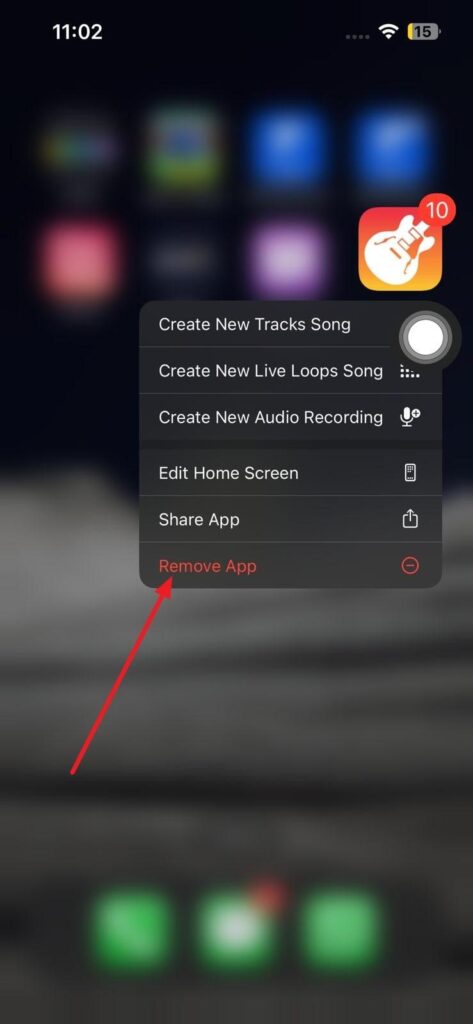
Step 1: First, unlock your iPhone or iPad and locate the GarageBand app installed on your device. Afterward, long press the app, and the pop-up menu will appear with a list of options. There, hit the “Remove App” option to uninstall the GarageBand app by following the on-screen instructions.
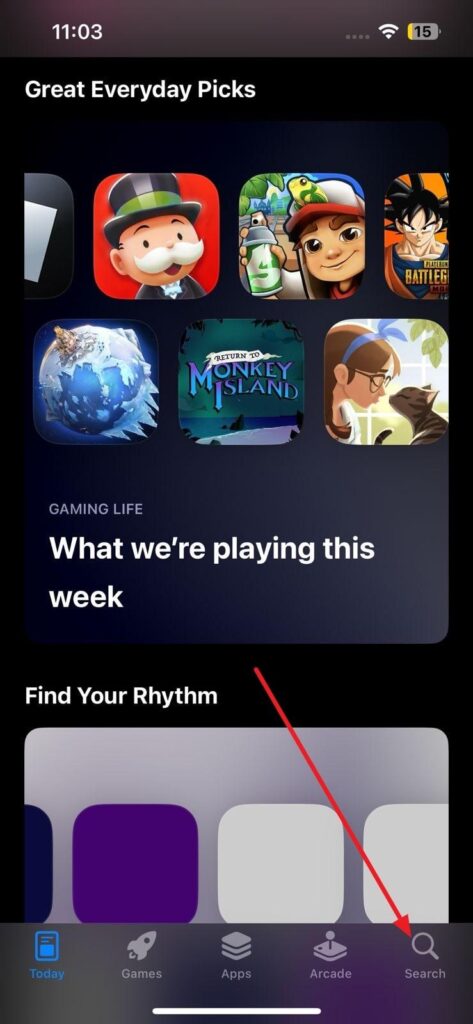
Step 2: Now, find the App Store on your iOS/iPadOS device and launch it. Then, in the bottom right corner, hit the “Search” icon and type GarageBand in the search bar at the of the screen. Afterward, press the “Cloud” icon with the downward arrow to get the app on your device.
For Mac
The uninstallation and reinstallation process for Garageband in Mac is uncomplicated, like that for iPhones or iPads. Most of the time, it works to fix some of the most unusual issues, like the app not detecting a wireless microphone like the Hollyland Lark 150, which was working fine previously.

Compact Wireless Microphone System with Wide Compatibility.
Learn MoreSo here’s what you need to do:
Step 1: Locate the “Finder” app on the top left corner of your screen and access it. Hit “Applications” from the left side panel and look for the GarageBand tool and select it. Here, press the “Command + Delete” keys to move the app to the bin. Then, access the “Bin” and press the “Empty” button in the top-right corner.

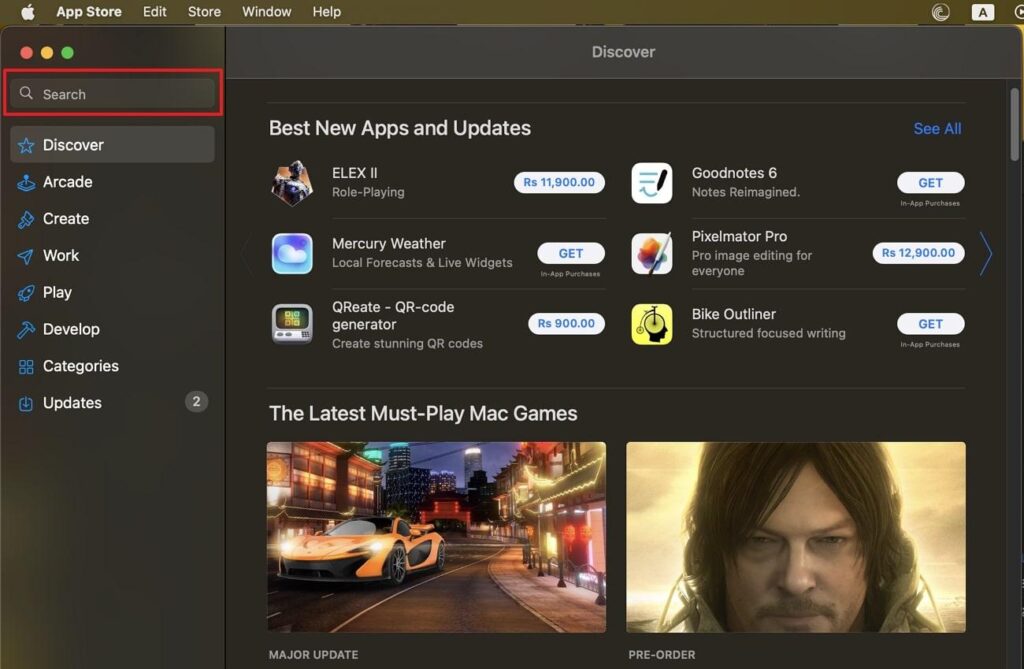
Step 2: Following this, access the App Store on your Mac, and type GarageBand in the “Search” bar located at the top of the left-side panel. When searched, hit the “Get” button and then the “Install” button to reinstall this app on your macOS.
Fix 3: Close and Reopen the Tool
As we continue discussing the fixes, it usually doesn’t load properly when you open GarageBand. So, you must first exit the GarageBand and remove it from recent, and then reopen this tool and try installing new sounds. For that, head to the steps given below for iOS, iPadOS, and macOS:
For iOS/iPadOS
Step 1: In case you have an older model of iPhone or iPad with the home button, then when you are using GarageBand, double press the home button to open the recent tabs. There, swipe up the GarageBand tool to exit it. Then, from your device’s home screen, look for GarageBand again and open it on your device.
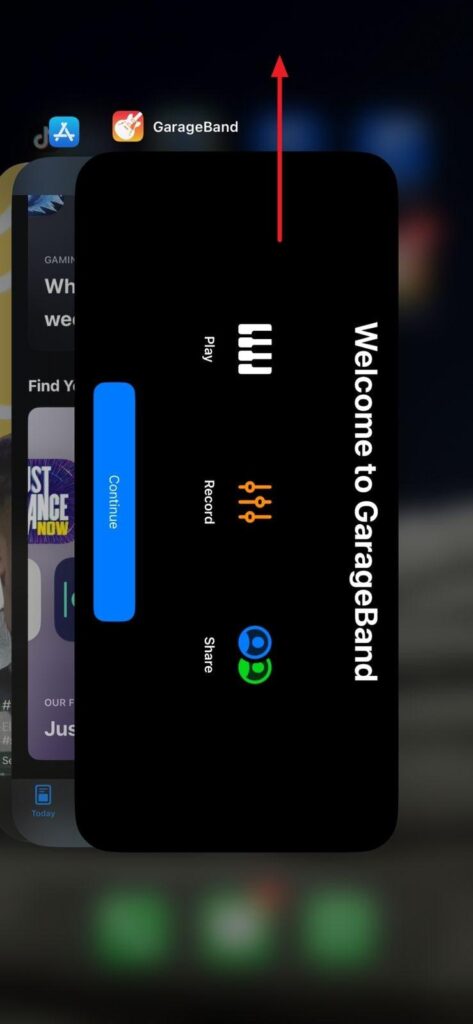
Step 2: However, if you have newer versions of the iPhone, then simply swipe up from the bottom of the screen and leave it in the middle to open the recent. Now, swipe up the tool again and exit it completely. Following this, search for the app again on your device, reopen it, and use it easily.
For Mac
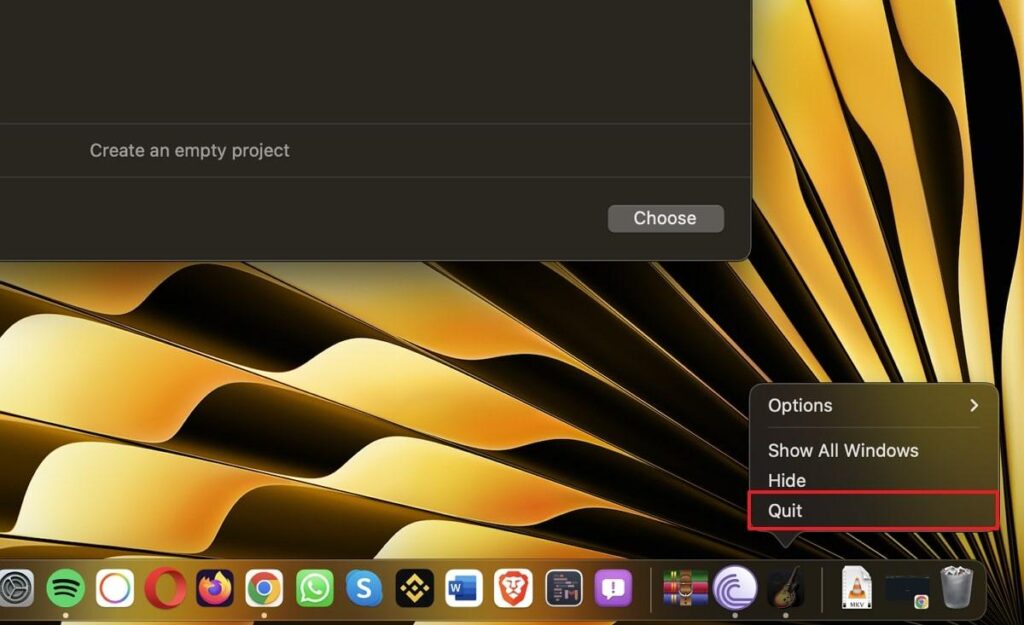
Instructions: Once you are using the GarageBand app on your Mac and cannot install new sounds, head to the Dock at the bottom of the screen. Now, place the cursor on GarageBand, press the “Control” key, and click on the tool’s icon. Now, click the “Quit” button from the options menu to close the app. Afterward, locate the GarageBand on your Mac again and double-click it to open it.
Fix 4: Restart Your Mac/iPhone/iPad
There are instances where your device doesn’t load successfully and may contain some bugs. This might lead to a problem with installing new sounds on GarageBand. However, restarting your device or system may be the most suitable and quickest way to resolve any issues related to bugs. Here, follow the given steps to restart your respective devices effectively:
For Mac
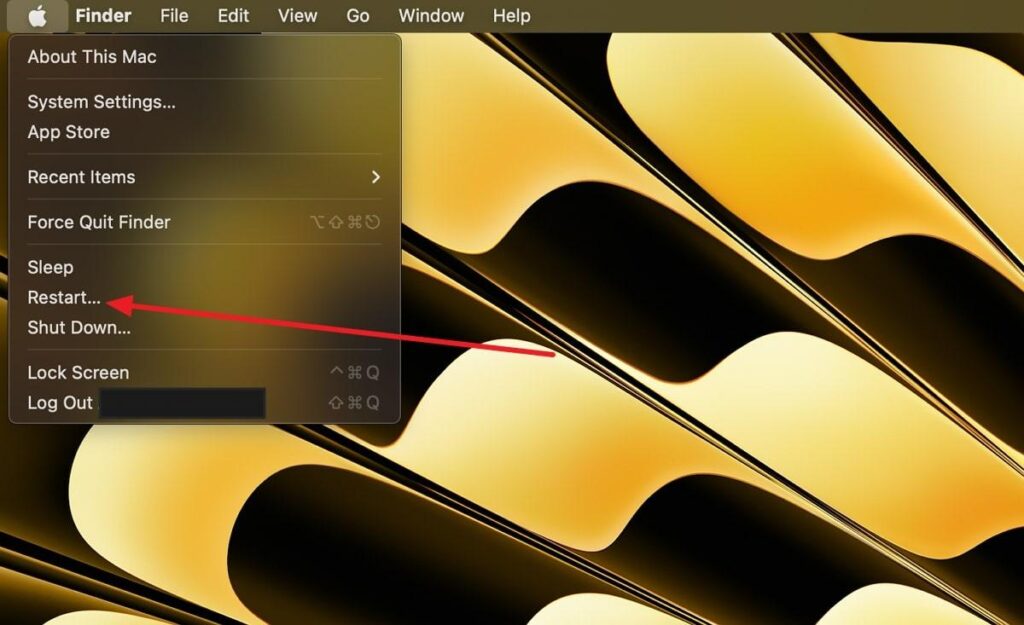
Instructions: First, exit the GarageBand on your Mac, head to the upper left side, and tap the Apple icon. Then, choose the “Restart” option from the drop-down list and confirm the action by pressing the “Restart” button.
For iPhone
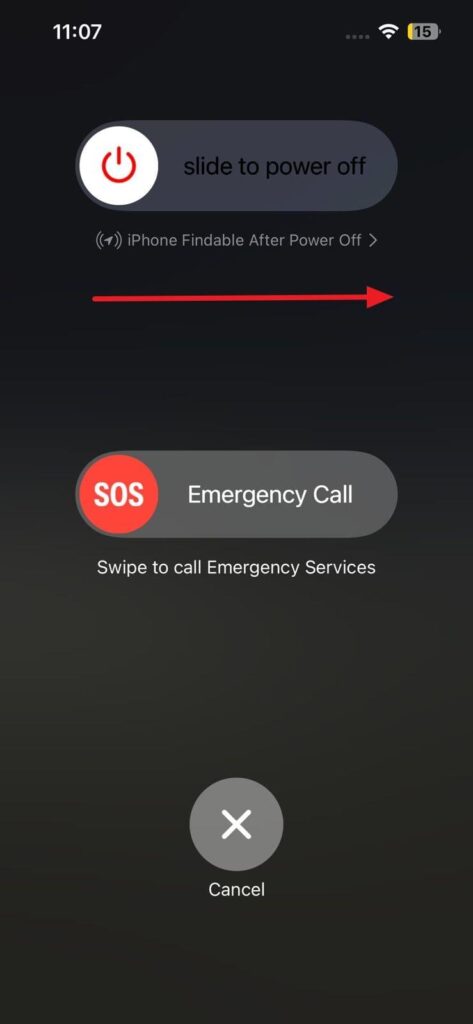
Step 1: Once you close the applications on your device, press the Power button and one of the Volume buttons on the sides of your iPhone. Keep them pressed until the “Power Off” slider appears. Now, drag the slider and wait 30 seconds to turn off the device completely.
Step 2: Afterward, press and hold the Power button on the right side of your phone until the Apple logo appears on the screen. After which, try installing sounds on GarageBand and see if it works.
For iPad
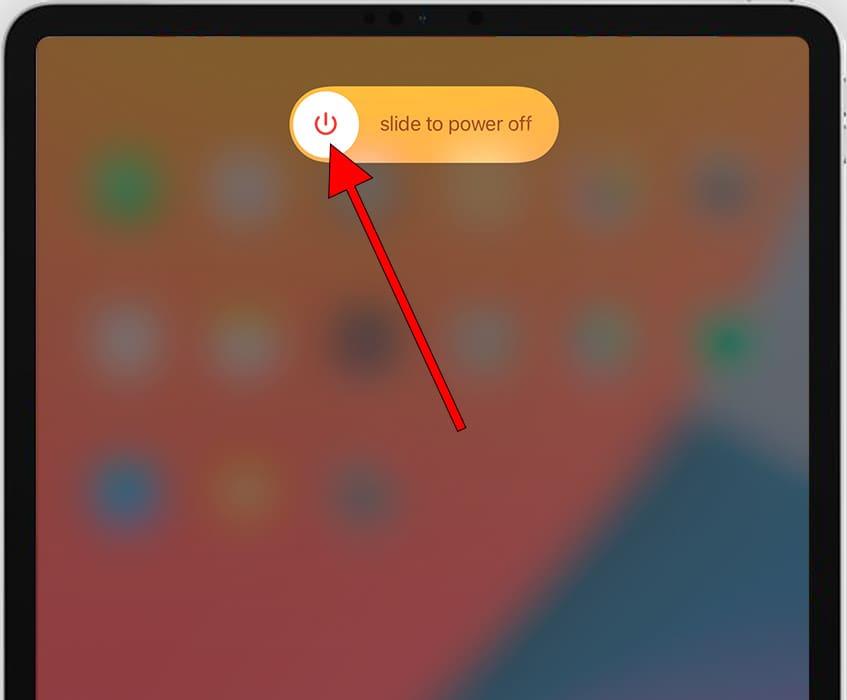
Step 1: To restart iPad, press and hold the “Power” button at the top of the device and the volume button on the side. Wait until the “Power Off” slider appears on the screen and drag it to the right side. Now, wait for 30 seconds, and your device will turn off.
Step 2: Following this, to turn the device on, press and hold the “Power” button at the top and wait until the Apple logo appears. Then, check if GarageBand is working and you are able to install new sounds.
Fix 5: Update the GarageBand App on Your Mac/iPad/iPhone.
Sometimes, the apps need to be updated and quit supporting some tasks. This could be one of the reasons you cannot install new sound on your GarageBand. Here, updating the app to the latest version might resolve the issue for you. To update the app using your Mac and iPhone/iPad, have a look at these steps:
For Mac
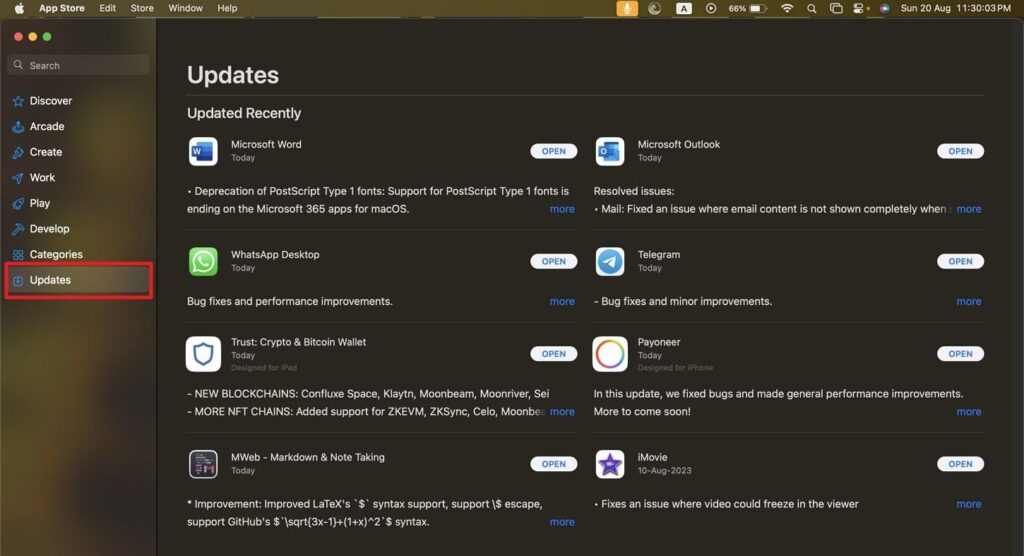
Instructions: Launch the App Store on your Mac and choose the “Updates” option from the left side panel. Then, on the right-side window, check for GarageBand under the “Updates” section. If there is any update for this app, hit the “Update” button, and it will be installed to the newest version.
For iPad/iPhone
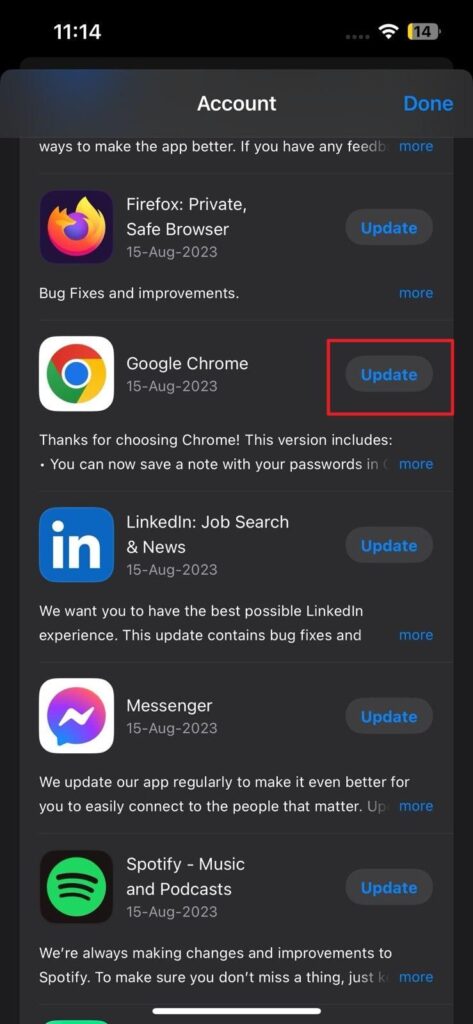
Instructions: To update the app on your iOS/iPadOS, access the App Store on your device. Now, tap your “Profile” icon on the main screen to open the “Account” screen. Afterward, scroll down and look for the “Upcoming Auto Updates” section and find GarageBand there. If there is any update for this app, hit the “Update” button, and it will be updated to the latest version.
Fix 6: Block Firewall and Antivirus
Most of the time, third-party applications such as firewalls and antivirus software cause issues with running GarageBand properly. These system additions are sometimes incompatible with the macOS version you use. So, disabling these non-standard extensions, firewalls, and antivirus software is necessary. The most common third-party tools that cause new sound installation errors are Little Snitch and Kaspersky.
Make sure that you have yet to install any of these. However, if you use them more often, you can also disable them, install new sounds on GarageBand, and enable them again. So, to disable the firewall on your system, explore the following steps:
Step 1: Once you are on the main screen of your Mac, hit the “Apple” icon at the upper left corner and choose “System Settings” from the drop-down list. Then, from the left side panel, click “Network” to access its content on the right side.
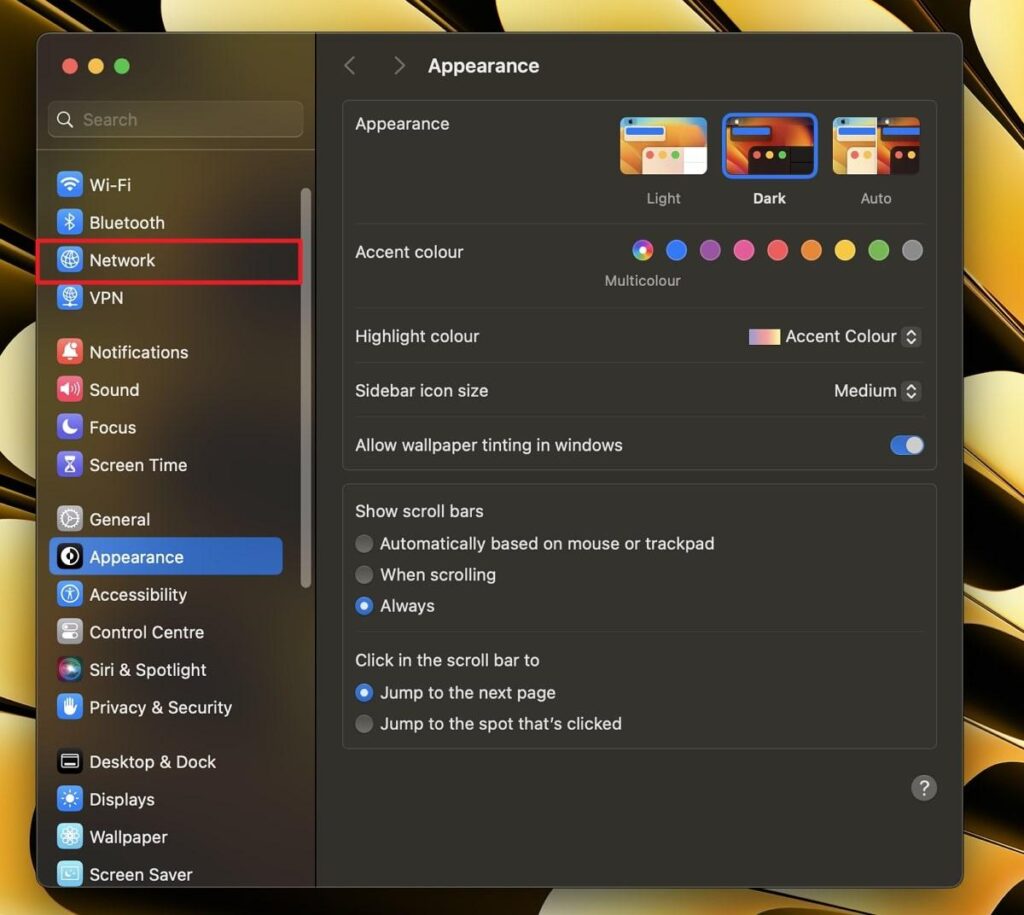
Step 2: Afterward, press the “Firewall” option and toggle the switch to turn it off or disable it. Moreover, also block any “Other Services” such as antivirus installed on your system.

Fix 7: Clear Cache and Private Folders Content
Cache build-up can also make your GarageBand run with a new sound installation error. However, clearing any cache or unnecessary content from the private folders using Mac is necessary. Below, track the steps to clear the cache on your Mac:
Step 1: So first, we will clear up the cache using macOS. From the left side corner, tap “Finder” and access it. From the top bar, hit the “Go” option and choose “Go to Folder” from the drop-down appearing list.

Step 2: Afterward, type in the command “Library/Caches” and delete all the content showing there. On the other hand, once you are in the “Go to Folder” option, type the “/private/var/folders” command. Now, look for the “Iq” folder and then for “nb_0wt4d1zq5rs933745flww0000gn.” Here, delete its contents and all the related data.

Fix 8: Install the AppCleaner App to Remove Residuals
Uninstalling the app doesn’t completely delete all the data or system files for that particular app. The same is the case for GarageBand. As we discussed the steps to uninstall GarageBand, it might still leave some corrupt files behind.
For that purpose, you must download the AppCleaner application to remove all the unwanted apps and their data thoroughly. Moreover, this app removes all the files safely. Now, follow the guided steps to install this app and remove all the GarageBand data thoroughly:
Step 1: At first, explore the Safari browser on your Mac device and browse the FreeMacSoft site to download AppCleaner app. Afterward, run this app on your macOS, and head to choose the “AppCleaner” option at the top-left corner of your Mac’s screen.

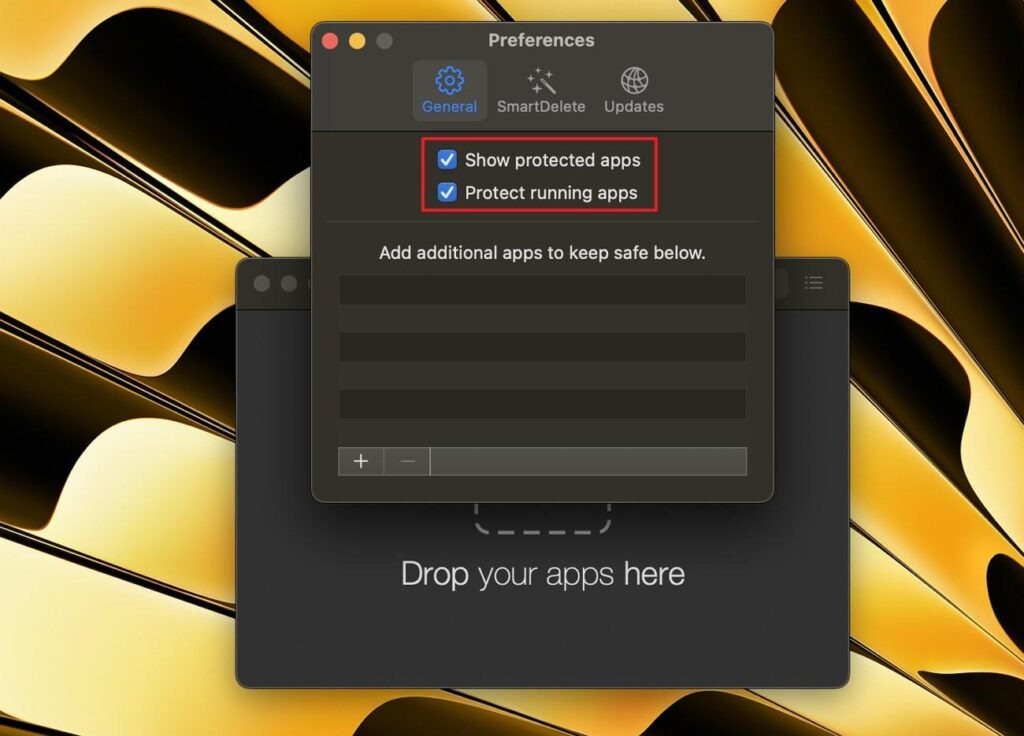
Step 2: There, hit the “Settings” option, and under the “General” tab, uncheck the “Show Protected Apps” and “Protect Running Apps” checkboxes. Now you have set the preferences for removing the protected apps. Following this, drag and drop the GarageBand app on AppCleaner, and it will start scanning the app.
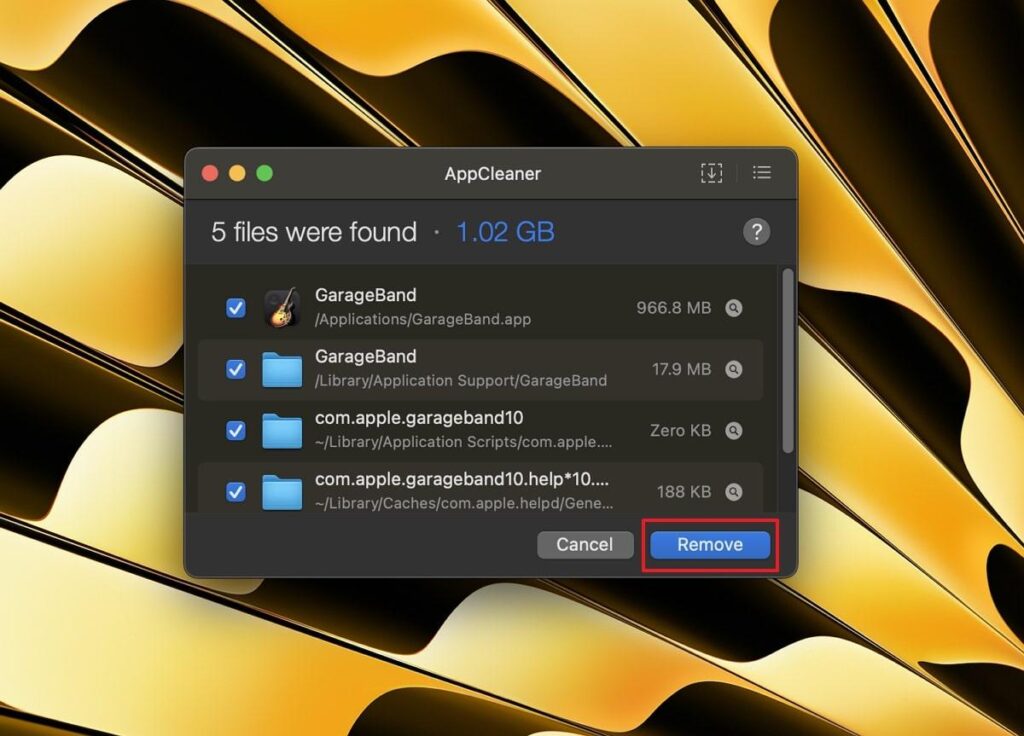
Step 3: Afterward, hit the “Remove” button, and it will remove all the data from Mac related to that app. Afterward, head to the AppStore on your system, click the “Search” bar, and type GarageBand to find this app. Following this, download this app again on your Mac, start using it, and check if you can download sounds without any issues.
Fix 9: Contact Apple Customer Support Centre
Sometimes the issue can be unresolvable even after following all the fixes mentioned above. Here, the only option you have is to contact the customer support center and ask for their assistance. They can help you resolve the issue or guide a perfect alternative. So, to contact the customer support center follow the given steps:
Step 1: For an easy process, call Apple at 1-800-275-2273. Once contacted, they will ask you about the product you are using and the related issue. However, in other cases, access Safari and head to Apple Support Page.
Step 2: From there, choose the Apple product you are using and then select the problem you are facing. Afterward, follow the on-screen instructions to get the service regarding your related issue.
Conclusion
GarageBand has been the most productive tool for making music since its launch seventeen years ago. Since then, Apple users have heavily relied upon this tool and used it for various music-related needs. However, sometimes issues may arise, such as new sounds being unable to install. To fix this issue, we have discussed 5 solutions to help you overcome this hassle.
Moreover, we have also given an overview of what GarageBand does so that you might learn about its functionality and use it accordingly. All these fixes are applicable to all macOS and iOS versions. So, try out the fixes and start using GarageBand efficiently.
Frequently Asked Questions About GarageBand
1. What is the time limit for GarageBand recording?
Being a music-making app, instead of tracking time in minutes, GarageBand tracks it in measures. The maximum measures allowed for this tool are 9999. So, setting the bpm to the minimum value of 40 will set your maximum time for recording at 1000 minutes. However, remember that this limit is offered per project, so you make as many projects as you want, each within 1000 minutes.
2. How do I get new sounds in GarageBand?
When using the GarageBand app, you can install all the new sounds in a single click. Head to the “Sound Library” within the tool and tap “Download All Available Sounds” to instantly open the dialog box. Afterward, click the “Get” button to start the sound installation and download all the songs in your GarageBand app’s music library.
3. Can you add custom sounds to GarageBand?
Yes, adding custom sounds to GarageBand is allowed. When dealing with your custom sound, you can rename, save, or delete it to use it for other songs or instruments. You can then drag this sound to any track within the GarageBand instruments. However, the changes you save include settings for master effects, plug-ins, EQ, and various touch instruments.
4. Are all sounds on GarageBand royalty-free?
As far as the sounds in GarageBand are concerned, all the loop sounds within this tool are provided in the public domain and are completely royalty-free.


![My Discord Crashes when I Screen Share [These 7 Fixes to Try]](https://www.hollyland.com/wp-content/uploads/2024/09/my-discord-crashes-when-i-screen-share-these-7-fixes-to-try.jpg)