Oculus is a range of VR products owned by Meta (formerly known as Facebook). Meta’s Oculus VR products include headsets like the Oculus Quest 2 and Rift S, which deliver immersive VR experiences for gaming, entertainment, and other applications. Numerous VR games and experiences, positional audio, and hand tracking are just a few of the things that these headsets have to offer. The Oculus brand is well-known for its contributions to the mainstreaming of virtual reality as a consumer product and for its technological innovations in the field.
But wait, that’s not what I am here to discuss. You see, the Oculus app requires you to sign up from Facebook, and some people want to separate their Facebook from their Oculus. Why? Because privacy is a big deal. In this guide, I will discuss why people make this choice, a step-by-step procedure of how to do it, and what happens afterwards.
Get ready for a ride into the world of Oculus!
Table of Contents
Why do users want to unlink their Facebook from Oculus?
Before we get into the step-by-step procedure, it’s important that we answer this lingering question: Why are people so bothered about unlinking their Facebook from Oculus?
Well, here’s your answer:
Users may decide to unlink their Facebook account from Oculus for more control over their virtual environments and privacy concerns. Some people worry that Facebook is gathering too much information, especially in light of its well-known history (read controversy) of data acquisition. Customers can still use their Oculus even after unlinking their Facebook account, although some features might not function as smoothly without Facebook.
Users want to unlink their accounts for various reasons, such as independence by having different funds for Oculus, social media activity, and game preservation. Unlinking can also assist customers in avoiding possible problems, such as having their Oculus account cancelled or being banned from Oculus if their associated Facebook account is disabled. Linking can give consumers greater autonomy and privacy over their virtual experience.
Steps to get Facebook account unlinked from Oculus
There’s no one-size-fits-all approach. The steps I am giving below may work for some and not for others. So, I will provide you with another alternative guide right after this one. Make sure you try both to see what works for you!
Alternative 1:
Step 1: Open your Facebook application and look for the three menu bars on the top right-hand side of the screen.
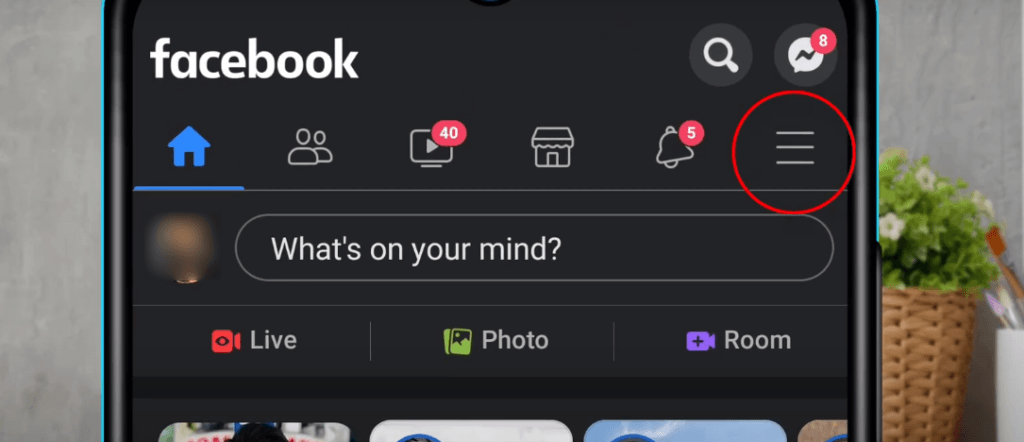
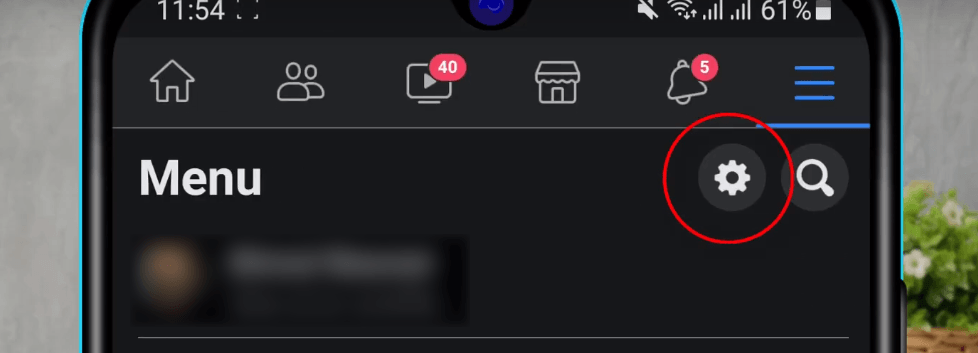
Step 2: Tap the menu bars and click the settings icon on the top right-hand side.
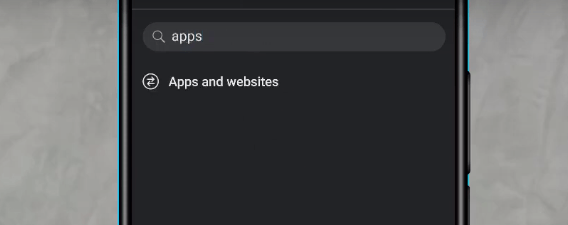
Step 3: If you cannot find the “Apps and Websites” option, use the search button and type in “apps” to locate it.
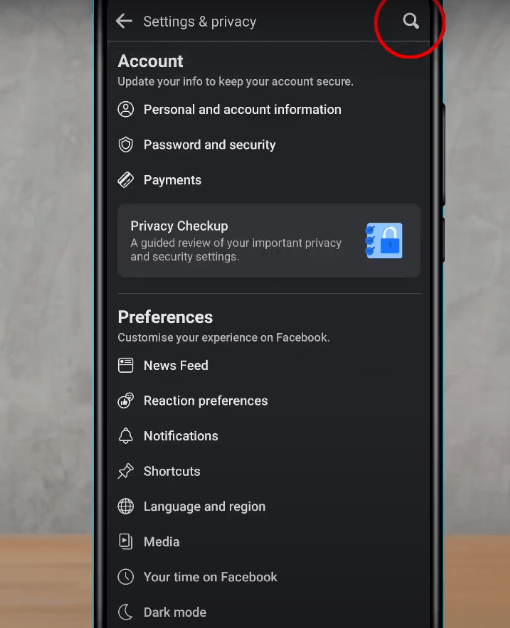
Step 4: Click on the search result.
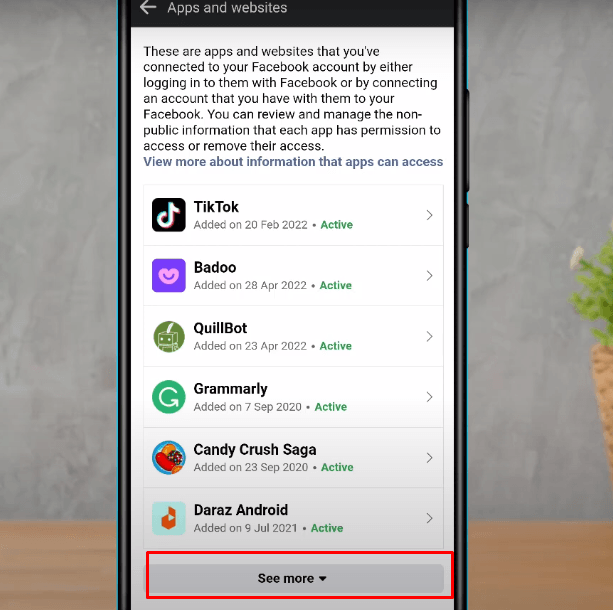
Step 5: You will see a list of applications linked to your Facebook account. Look for the “Oculus” application. If you can’t find it, click “see more” and continue tapping it.
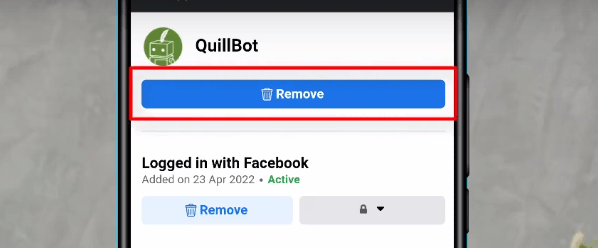
Step 6: Once you find the Oculus application, click on it. At the top of the screen, you will see a “Remove” button. Tap the “Remove” button and choose whether to delete everything associated with the Oculus application.
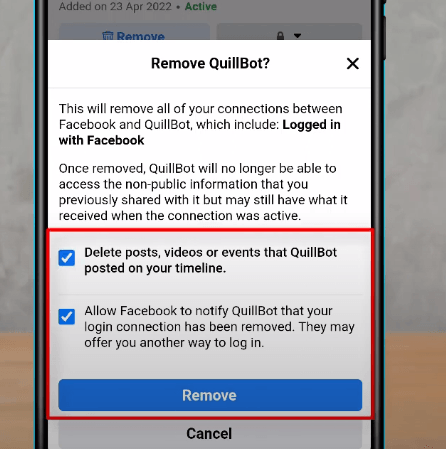
Step 7: Confirm the removal by tapping “Remove” at the bottom.
Note 1: Following these steps, you have successfully unmerged your Oculus account from your Facebook account.
Note 2: If you have other apps related to Oculus or Oculus Quest 2, repeat the process by tapping on the respective application, then “Remove,” and confirm the removal.
Alternative 2:
Alternatively, follow this method:
Step 1: Open this link: https://www.meta.com/help/support/?b=quest&d=9090&utm. This link will lead you to the meta support page.
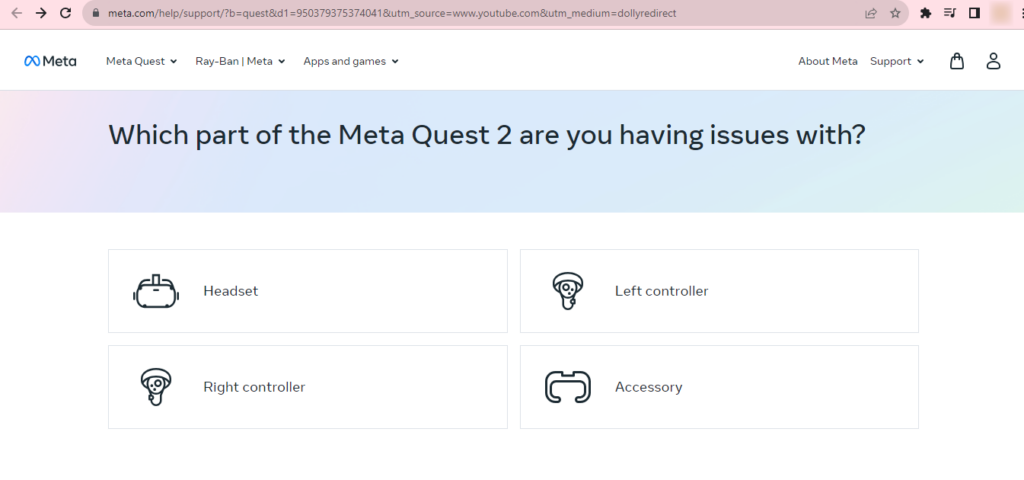
Step 2: Now click on any of the four options on the page. I am choosing a headset here.
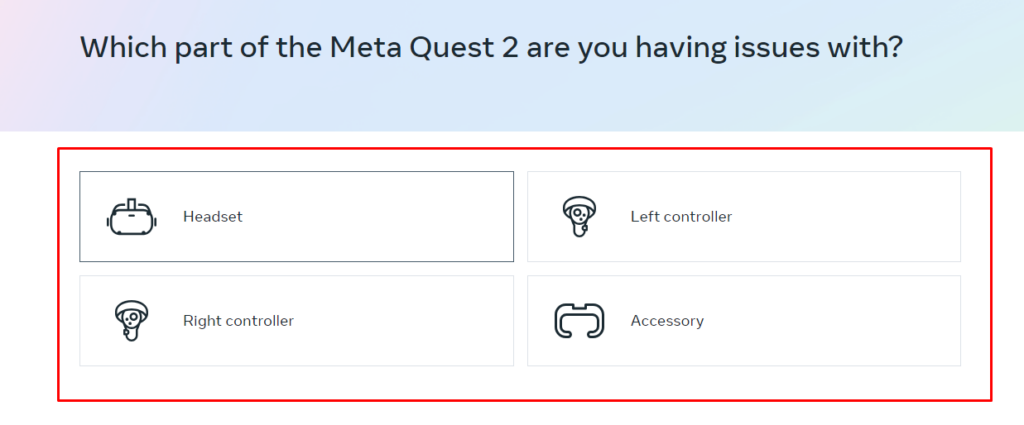
Step 3: Then, another page will ask for the specifics of your issues. Don’t bother much and select any of them.
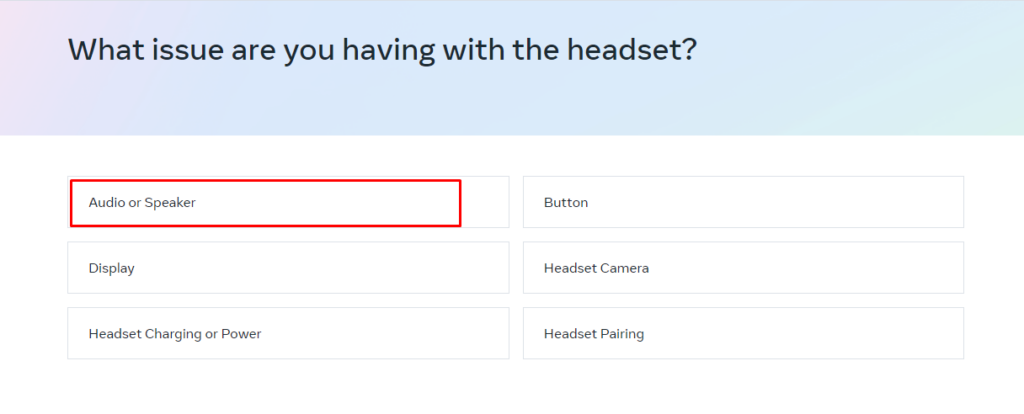
Step 4: Repeat this once more for another page

Note: You’ll be asked to read a few articles or directed to a page to communicate with the support directly.
Step 5: Case 1: Let’s say a page with articles open that provides you with the solutions. Just click on THIS DID NOT SOLVE MY ISSUE.
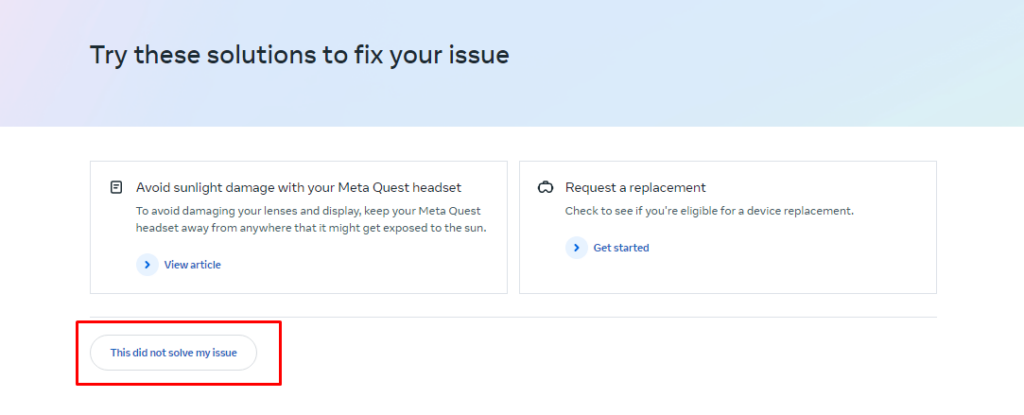
Note: This will lead you to another page with options for talking to the support agent.
Step 6: Case 1: Click on chatting as this is the fastest way to get responses from meta support agents.
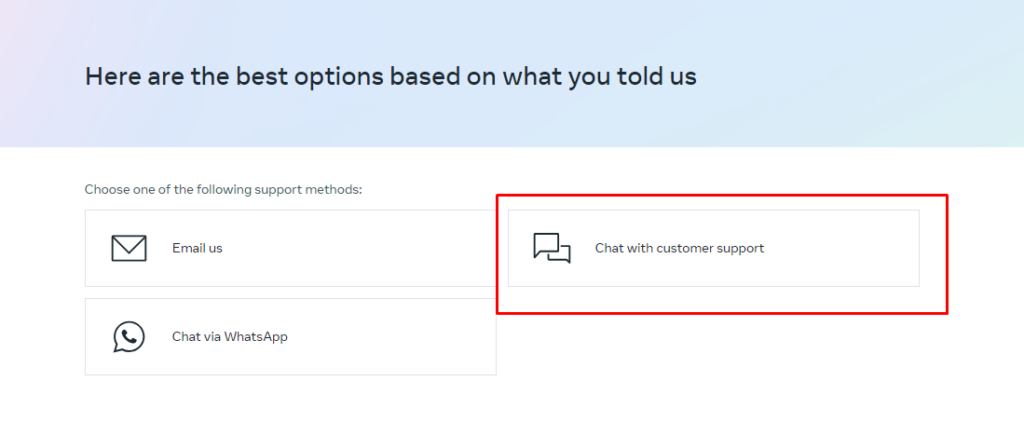
Step 5 Case 2: If you’re already directed to this page after step 4, your page will look like this. Again, choose chat with customer support.

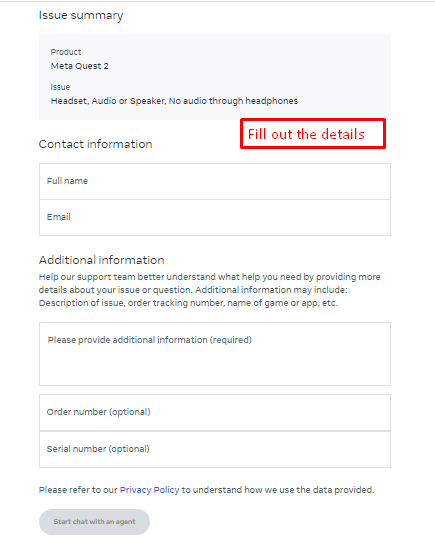
Step 6: After that, you’ll be asked to fill out your name, email, and other additional info. Provide them with what they are asking for
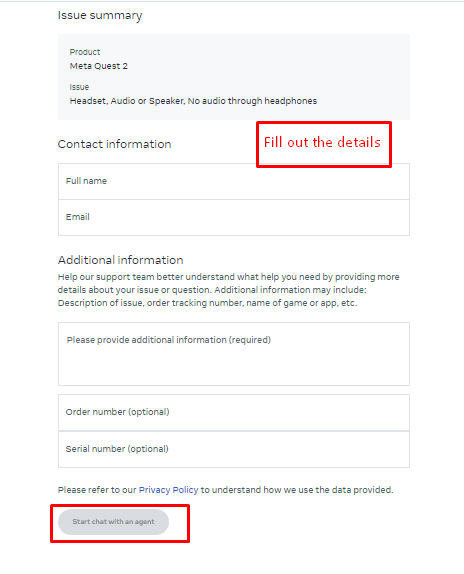
Step 7: Click on the option”Start chat with agent”
Step 8: From here, it’s very simple! You just have to talk to customer support and ask them if unlinking the accounts is possible. And he will do it for you without any fuss.
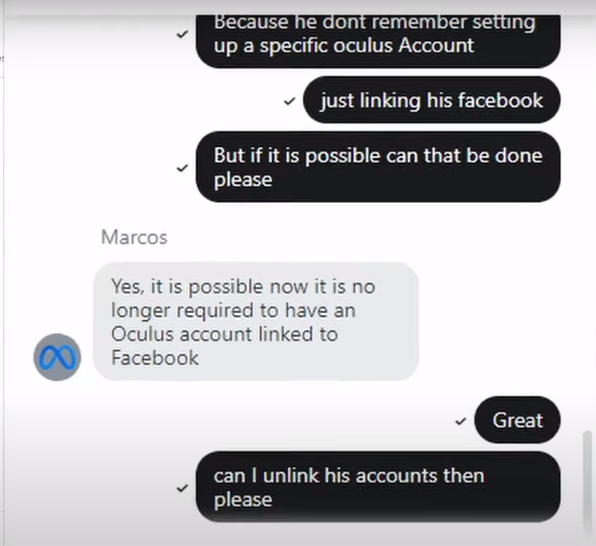
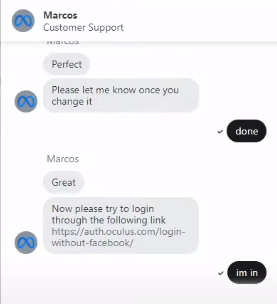
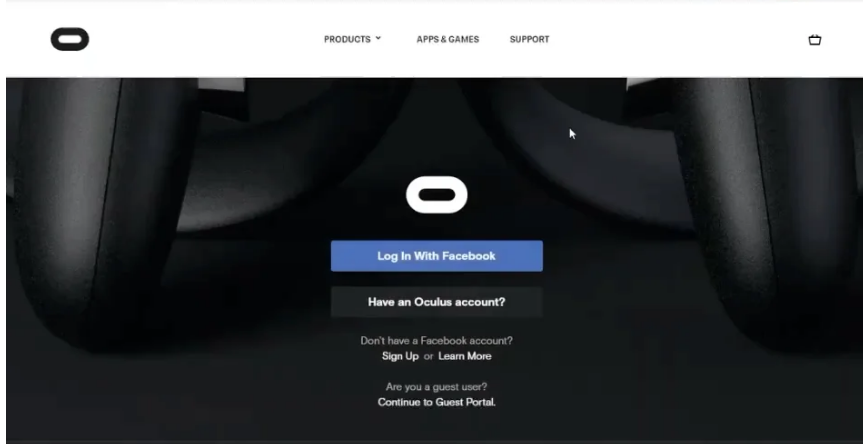
Note: After unlinking the account, you can happily log in with your Oculus account!
After Effects of Unlinking Facebook from Oculus
There are consequences when you unlink your Facebook account from your Oculus device. You can still access unknown apps and developer mode but lose access to friends, premium games, and chat features. Because they only require an email address to create an account, meta-accounts give users greater flexibility and control. The switch to Meta accounts will take some time, though. If you are unclear about the instructions, it is best to consult Oculus support for clarification. You can continue to use your Oculus device after unlinking, though some apps and games might not work as intended. Unlinking allows social media to be kept from the virtual environment, giving privacy in VR encounters.
Conclusion
That’s all, folks! I understand that trying everything and still not seeing results has been highly intimidating. I believe this tutorial has given you valuable insights into the implications, the step-by-step procedure, and what to expect from your Oculus account.
One thing you should do, per my recommendation, is keep up with any updates or tweaks as the Facebook and Oculus interaction continues to evolve. This will undoubtedly guarantee a flawless VR encounter.
FAQs
Q 1. What happens if I decide to unlink my Facebook account from Oculus? Will I lose the content or games purchased?
You can no longer access friends, chat, or paid games if you unlink your Facebook account. You can still use unknown apps and developer mode, though. It’s crucial to remember that the precise implications could vary according to individual circumstances. You should contact Oculus support if you have any questions or concerns.
Q 2. What are the exceptions when trying to unlink a Facebook account from Oculus?
There are no notable exceptions when unlinking your Facebook account from Oculus, though the procedure could vary based on your situation. Some users have reported success when they get assistance from Oculus support. If you already have an existing Oculus account, contacting support is recommended. Remember that unlinking your account may have different consequences, so it’s better to contact Oculus support or meta support for clarification if you’re unsure.
Q 3. How to set up a Meta Account and remove an Oculus account?
Sign in to your Facebook account linked to Oculus, visit https://www.meta.com/setup, and click “Continue with Facebook.” Choose “Continue without Facebook” to unlink. Enter the confirmation code sent to your email, create a new Meta password, and finish setup. Set up your Horizon profile and adjust your privacy settings. Click the “Device Code” hyperlink, follow the link, memorize the code, and enter it on the Facebook page. Confirm device connection. Restart your Quest headset; henceforth, sign in with your Meta account credentials. Optionally, complete this process on mobile. Verify functionality on your Meta account.


