Have you ever found yourself in a digital labyrinth, figuring out where YouTube downloads go on Mac? Maybe you’ve downloaded the perfect tutorial for that complex recipe or snagged an inspiring workout video. You can almost taste the homemade pasta sauce or feel your muscles burn with anticipation. But where’s that video file?
No worries; we’ve all been there. This is like hunting for buried treasure without a map. Only this time, instead of shovels and pickaxes, mouse clicks and keystrokes lead us through the maze. We’re going to unravel this mystery together.
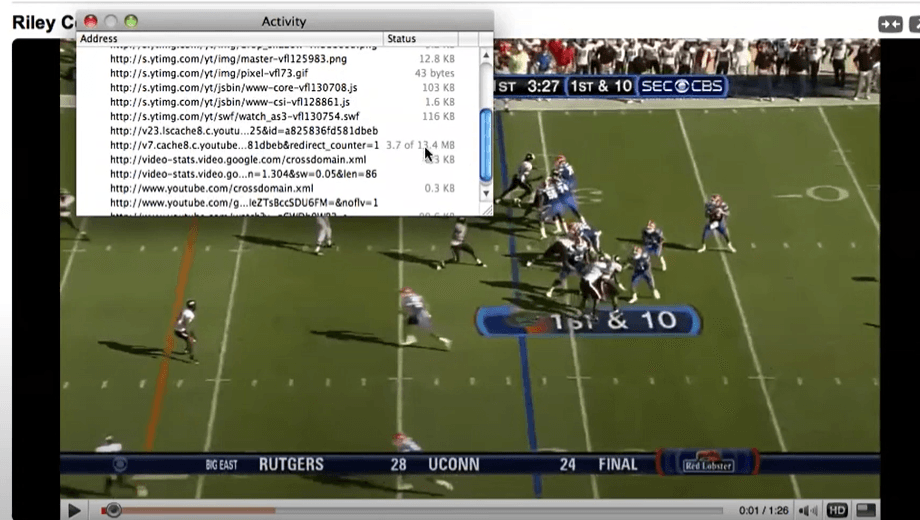
Not only will we delve into finding those hard-to-find files, but we will also look at how to change your default download location. This puts you back in charge of your digital world. We’ll even give insights on making the most of built-in features like YouTube’s offline viewing option and various third-party tools.
Table of Contents
Understanding YouTube Downloads on Mac
Understanding YouTube downloads on Mac is essential for users looking to access content offline conveniently. When you download a YouTube video on your Mac, knowing where the file is stored is crucial. Typically, the default location is the downloads folder, easily accessible through the Dock or Finder.
However, this can vary based on browser settings or download manager preferences. Taking control of your download location is beneficial because it allows you to designate specific folders for organization.
The guide addresses common questions about the whereabouts of downloaded files, providing clarity on accessing them through various methods. This understanding ensures users can effortlessly locate and manage their downloaded YouTube videos on a Mac, enhancing their offline viewing experience.
- Dock

The Dock is a bar of icons typically located at the bottom or side of the screen. It provides quick access to frequently used applications and folders and minimizes Windows.
You can customize the dock by adding or removing icons. It also displays open applications, making it easy to switch between tasks. The Dock is a central hub for launching and managing applications on a Mac.
- Finder
Finder is the file management application on macOS, akin to File Explorer on Windows. It allows users to browse files, folders, and applications on their Mac.
You can navigate through your computer’s file system, organize files, and perform various actions such as copying, moving, and deleting. Finder also provides access to external drives and networked devices. It plays a crucial role in managing and locating files on a Mac.
Where Do YouTube Downloads Go on Mac?
Let’s break down the step-by-step guide to help users locate their downloaded YouTube videos:
1. Default Download Location
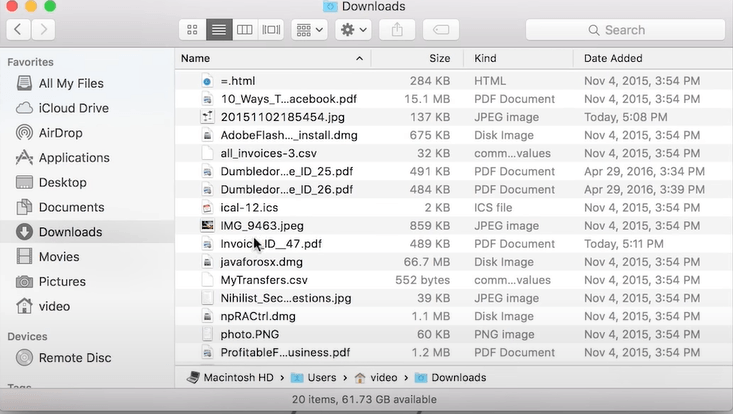
Alright, when you snag a YouTube video on your Mac, guess where it heads? Yep, you got it—the downloads folder. There is no rocket science here. Now, getting to that folder is a breeze.
Look for the Downloads folder on your Mac. You’ll usually find a shortcut for it in your Dock.
Suppose you can’t spot it there, no worries. Open Finder.
Step 1: In Finder, navigate to the “Go” menu at the top of your screen.
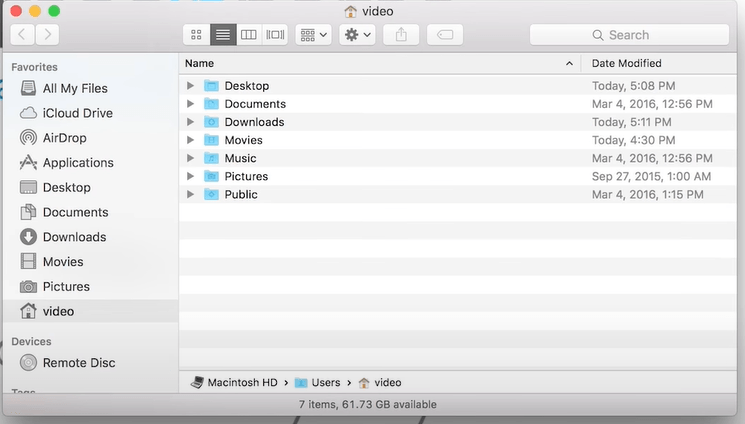
Step 2: Select “Downloads” from the drop-down menu.
Step 3: Are you still not seeing your video? Time to bring in the big guns – Spotlight Search.
Step 4: Click on the magnifying glass icon in the top-right corner of your screen. This is a spotlight search.
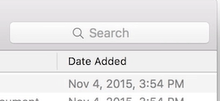
Step 5: A little search bar will appear. Type in “Downloads” and hit Enter.
Watch as Spotlight works its magic and presents you with the Downloads folder.
Voila! There’s your downloaded YouTube video, all set for your viewing pleasure.
2. Browser or Download Manager Settings
The location of your downloaded file may depend on your browser settings or download manager.
Step 1: Open your browser or download manager.
Step 2: Look for settings. In the top-right corner, there are typically three dots or lines to represent this.
Step 3: Find the “Downloads” or “General” section.
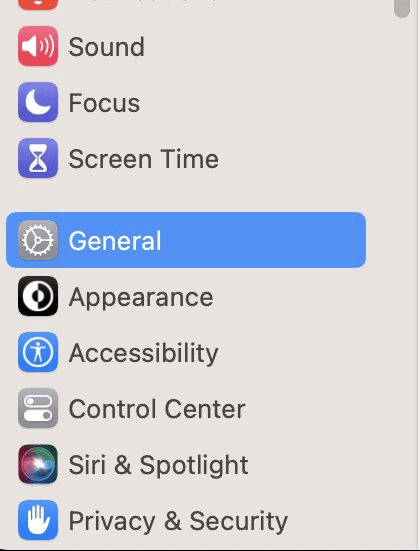
Step 4: Customize Download Location

Step 5: Locate the “Download Location” or “Save files to” option within settings.
Step 6: Click on it, and a window will appear.
Step 7: Choose your preferred location. This could be the desktop or a specific folder.
Save the changes. And there you have it! Customizing your download location in just a few clicks.
3. Changing Default Download Location
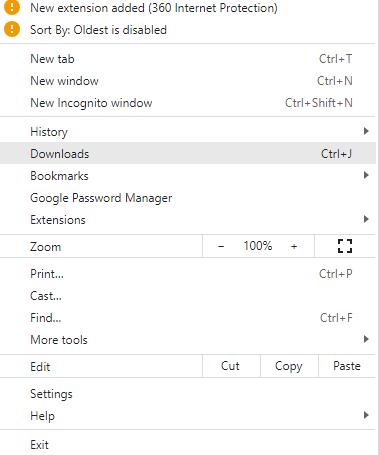
Consider changing the default download location for greater control over where your YouTube downloads are stored.
Step 1: Navigate to your browser or download manager’s settings
Step 2: Find the download location preferences and specify the folder or directory where your downloaded files will be saved.
4. Look in the Desktop
If you’ve used third-party tools or browser extensions to download YouTube videos, they might be right on your desktop. Here’s how:
1: Go to Your Desktop: Minimize or close any open windows to see your desktop.

2: Look for Video Files: Check for any video files directly on your desktop. These might be the YouTube videos you downloaded.
It’s as easy as that! Sometimes, the solution is right in front of you.
5. Check Application-Specific Folders
If you used a specific application or website to download YouTube videos, explore the settings or preferences to identify the default download location. Some applications create dedicated folders for downloaded content.
Step 1: Launch the application or visit the website where you downloaded the YouTube video.
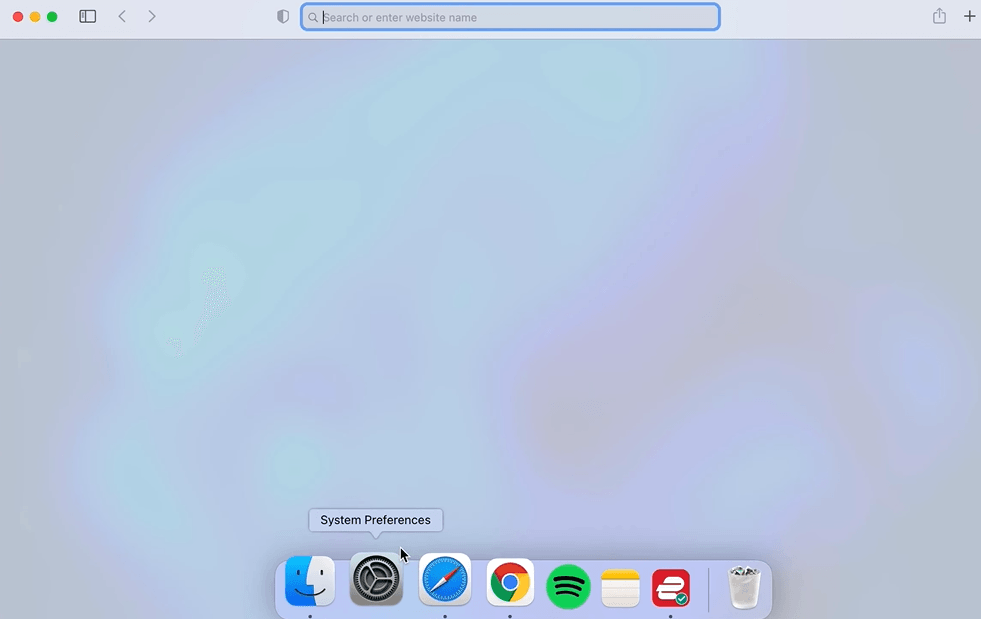
Step 2: Look for a “Settings,” “Preferences,” or “Options” menu. A gear icon frequently serves as its representation.
Step 3: There should be an option related to downloads within the settings. It might be labeled as “Downloads” or “Storage.”
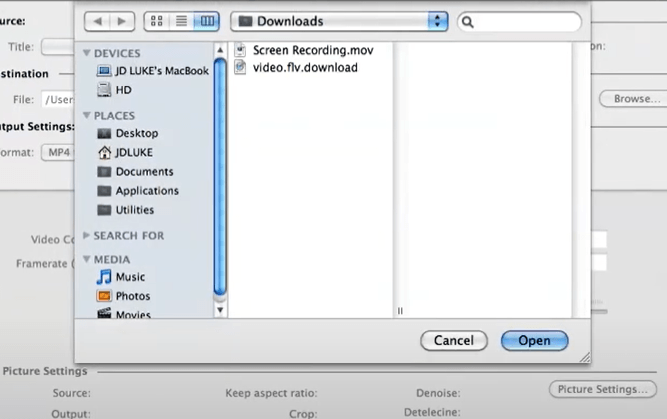
Step 4: Look for information on the default download location. Some apps allow you to customize this location.
Step 5: Take note of the current download location; changing it to a preferred folder or directory might be possible. If you make any changes, save them before exiting the settings.
This quick process can help you locate or customize the default download location within the app or website you used.
6. Search by File Type
If you are having trouble locating the downloaded videos, try searching for files with common video extensions like MP4 or Mkv using the macOS search function.
Step 1: Navigating the macOS Search Function
To initiate a search, click on the magnifying glass icon in the top-right corner of your screen—this opens Spotlight Search. Type in the video file’s name or search using terms like.mp4 or mkv to narrow down your results.
Step 2: Understanding the Results
The search results will display files matching your criteria. Look for your YouTube video by name or identify it through the file extension. Once located, you can easily open it or access its containing folder.
Step 3: Enhancing Your Download Experience
Now that you’ve familiarized yourself with the potential locations of your downloaded YouTube videos let’s discuss how you can streamline this process for future downloads.
Step 4: Choose a Reliable YouTube Video Downloader
Ensure you’re using a reliable YouTube video downloader. Popular choices include browser extensions like Video DownloadHelper or online services like savefrom.net. Pick one that aligns with your preferences and is compatible with your browser.
Step 5: Copy the Video URL

When you find a video you want to download, copy its URL from the browser’s address bar. This is the link that the video downloader will use to fetch the content.
Step 6: Open the Video Downloader
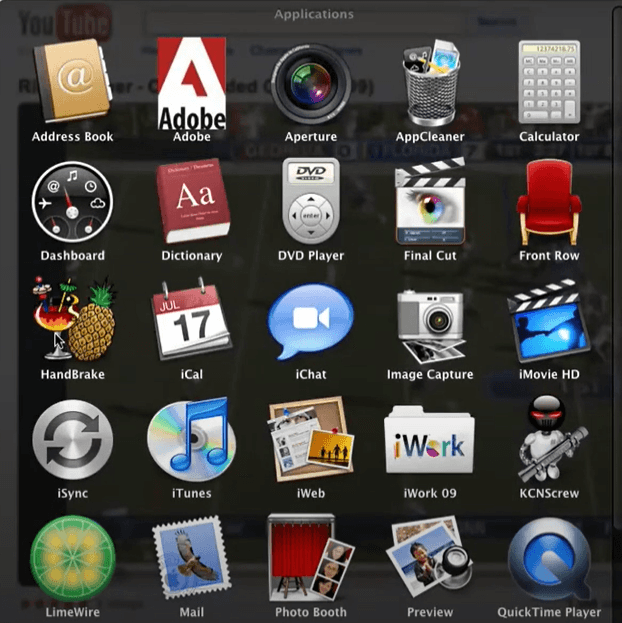
Open a new tab or window and navigate to the YouTube video downloader of your choice. If you’re using a browser extension, you might see a download button directly on the YouTube page.
Step 7: Paste the URL and Initiate Download
Paste the copied URL into the designated space on the video downloader website or extension. Adjust any download settings, such as video quality and format. Finally, initiate the download process by clicking the “Download” button.
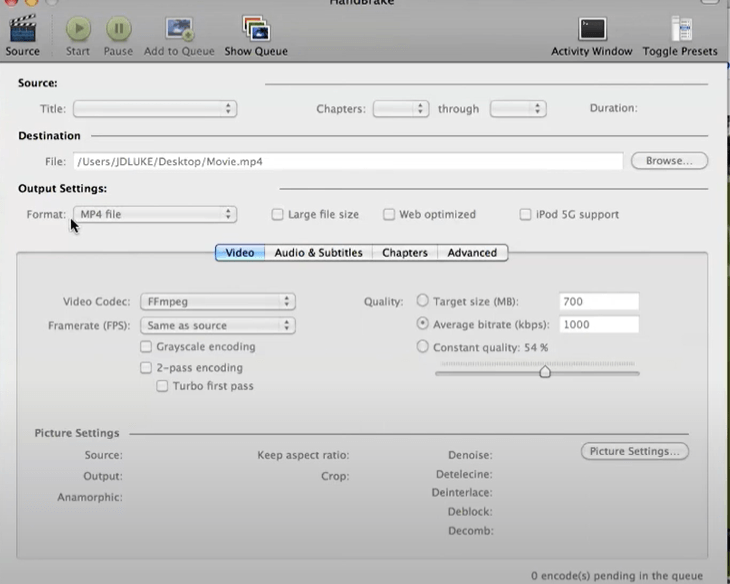
Step 8: Check the Default Download Location
After the download, your video will likely be in the Downloads folder by default. Confirm this using the Dock shortcut or Finder (Go > Downloads). Spotting the video might be easier now that you’re familiar with the search function.
Step 9: Customize Download Location (Optional)
Customize the download location in your browser or downloader settings for added convenience. This way, you can direct future downloads to a specific folder, making organization a breeze.
By following these comprehensive steps, you not only troubleshoot the current issue of locating downloaded videos but also set yourself up for a smoother and more organized video downloading experience.
The Basics of Downloading YouTube Videos on a Mac
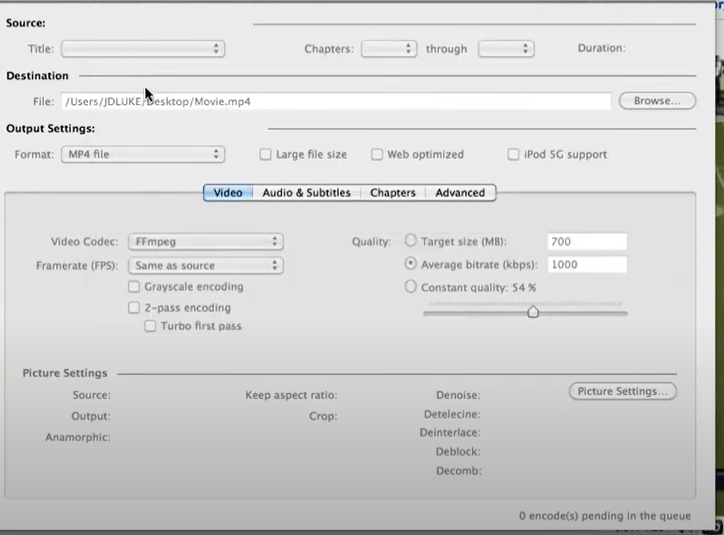
Downloading YouTube videos onto a Mac can be done in various ways, each with its benefits and drawbacks. Some people use browser extensions, while others prefer online services like savefrom.net. Both methods let you capture that catchy music video or informative tutorial for offline viewing at your convenience.
The process usually involves copying the video URL from the address bar of your internet connection’s browser window into an extension tool within your Safari browser or pasting it into an online downloader website such as savefrom.net. Once pasted, simply click ‘download’ to start downloading YouTube content.
A critical aspect to remember when using these tools is where downloaded files end up by default: they’re typically sent straight to a folder named ‘Downloads.’ Check out that folder if you were wondering where those hilarious cat clips went after hitting the download button.
If clutter builds up fast in your downloads folder due to numerous short video snippets (we know those cat compilations are irresistible), don’t worry. It’s possible to change this destination path easily.
Step 1: Open Safari preferences from the menu bar and select “General.”

Step 2: Find the file download settings option.
Step 3: choose the desired location under ‘Save downloaded files.’ This will redirect all future downloads accordingly.
Besides tidying up your folders, another benefit of adjusting the download location is ease of access. For instance, if you frequently use a specific media player like VLC Media Player to watch YouTube videos offline, setting that as your default folder can save precious time navigating different directories.
But let’s not forget that while downloading YouTube videos does give us the convenience of offline viewing and personal use, it’s critical to honor the rights of those who create this content.
Downloading YouTube Premium Videos on Mac
YouTube Premium is a paid subscription that lets you enjoy ad-free streaming and offline viewing of your favorite music videos, short video content, and more. But where do these downloaded YouTube Premium videos go on your Mac?
The answer lies in understanding EXO and BLOB files.
If you’re wondering why the downloaded file isn’t easily visible or accessible like other download files, it’s because they are stored as encrypted EXO or BLOB files. These types of files help ensure copyright protection for the creators’ original content while enabling subscribers to watch YouTube offline.
This means that when downloading YouTube videos from the premium service onto your device, be it an iOS device like a Macbook Pro or iPhone, these downloads end up being saved in exo or blob format in a location dependent on the operating system used.
Every time you select ‘Download’ within the YouTube app for some offline viewing later, what happens behind the scenes is rather fascinating. The media player encrypts this online video into one of two possible formats: An ‘exo’ file if you’re using Android devices or ‘Blobs’ (Binary Large Objects) when using Apple products such as iPads or iPhones.
| Operating System | File Type Used by YouTube App |
| iOS Devices (iPhone/iPad/Mac) | Blob File (.blob) |
| Android Devices | Exo File (.exo) |
security reasons. But don’t worry; you can still access your downloaded files by opening the app and checking out its built-in file manager. Despite the workaround, this should still help you access your downloaded files.
Troubleshooting Common Issues with Downloads
Even seasoned Mac users may encounter hiccups when downloading YouTube videos. Don’t worry; most of these problems can be swiftly resolved when you know how.
- Dealing With Error Messages
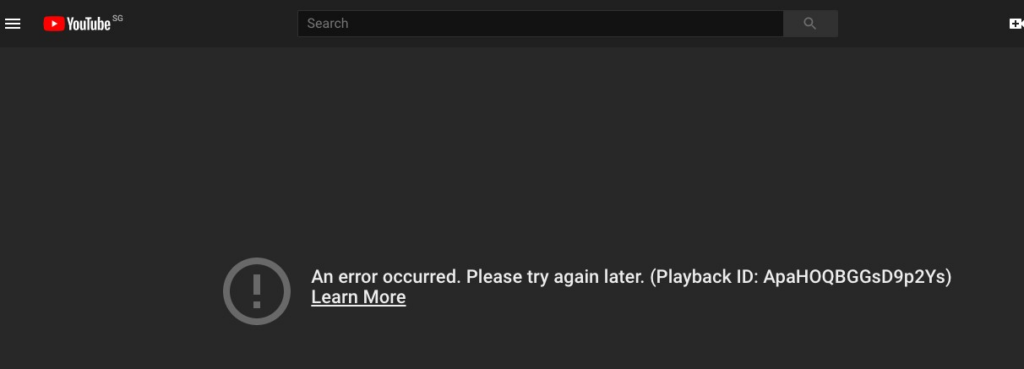
Error messages can appear for a variety of reasons during the download process. Let’s tackle some common ones to help get your video downloads back on track.
The “Video Unavailable” error often pops up if the YouTube content is restricted in certain areas or not available for offline viewing due to copyright constraints. This can be sidestepped by using a VPN (virtual private network) that masks your location, but remember that it’s important to respect intellectual property rights.
“Failed Download” alerts typically point towards an unstable internet connection or insufficient storage space on your device. Verify that your Wi-Fi connection is dependable and that you have enough storage space on your device before attempting to download again.
Apple Support offers comprehensive guidelines if you need more help clearing unnecessary files from your system.
If the downloaded file doesn’t play at all, chances are it could be incompatible with your media player. Try opening it with VLC Media Player, which supports almost all video formats – even those pesky FLV files.
- Navigating Through Slow Downloads
Sometimes, downloading YouTube videos might take longer than expected due to various factors, such as server load or network congestion during peak hours. Here’s what you can do:
- Avoid multitasking while downloading large files; close other apps and tabs that might be hogging your bandwidth.
- Try downloading videos during off-peak hours when fewer people are using the internet in your area.
- If all else fails, restarting your router can give it a much-needed boost to speed up downloads.
Bonus Tip: Did you know that when you download a video from YouTube on a Mac using Safari, the video file is often saved in the “.mov” format? This QuickTime movie format is known for its high quality and is easily playable on Mac devices.
Conclusion
Cracking the code of where YouTube downloads go on Mac, you’ve journeyed through this digital labyrinth and emerged victorious. From understanding the basics to navigating third-party tools, we have left no stone unturned.
We discovered that your downloaded videos nestle in your Downloads folder by default, but remember, you can change this location at will. You now hold the power!
The adventure didn’t stop there, though! We dove into built-in features like offline viewing and explored alternatives like screen recording. Not forgetting those pesky EXO files with YouTube Premium – another mystery solved.
No more searching for buried treasure without a map. Your Mac is now a well-organized chest of video gems ready for viewing anytime, anywhere.
FAQs About Where Do YouTube Downloads Go on Mac?
Q: Where do I find my YouTube downloads?
A: By default, your YouTube downloads are stored in the “Downloads” folder on your Mac. Check here to find your downloaded videos.
Q: How do I open a YouTube download on my Mac?
A: After downloading a YouTube video on your Mac, use a media player such as VLC or QuickTime Player to open and play the video.
Q: Where are my downloads going on my Mac?
A: Your downloads on a Mac usually go to the “Downloads” folder by default. You can modify this location in Safari’s preferences. Check there to customize your download destination.


